 Uncorked Conversations
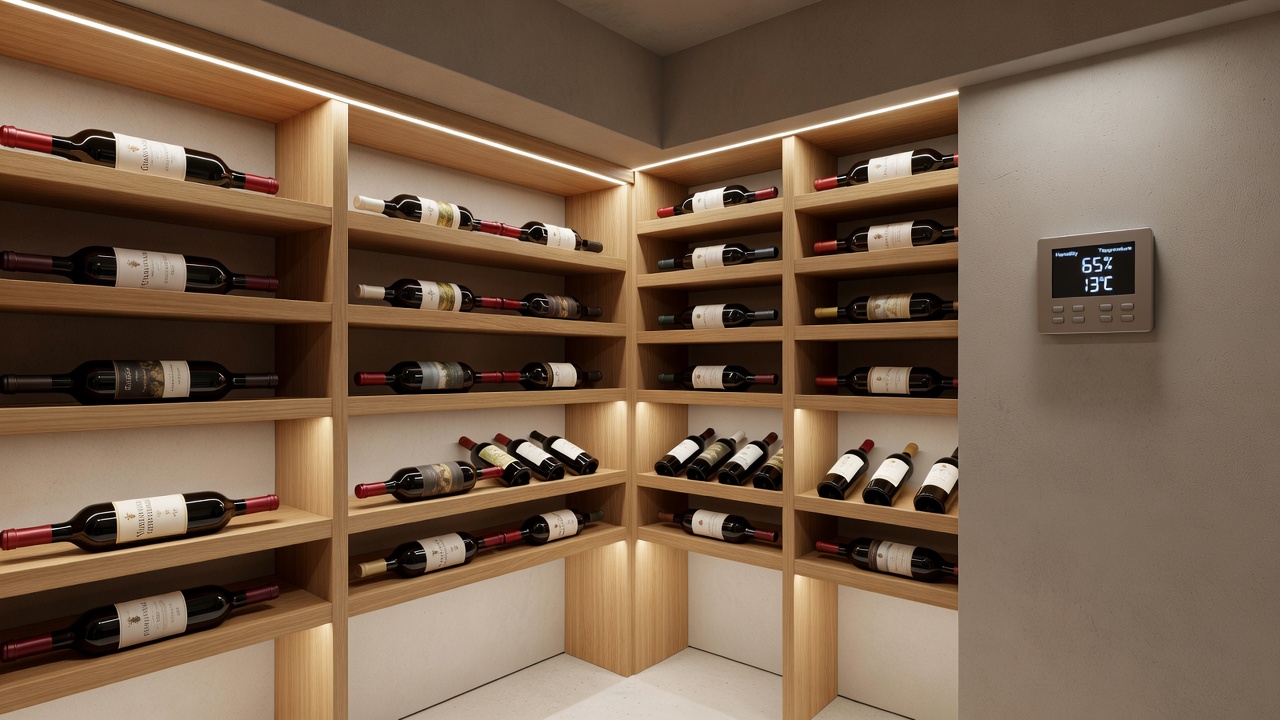
Introduction to Building Your First Wine Cellar
Creating a wine cellar as a beginner does not require a massive budget or professional expertise. With thoughtful planning around consistent temperature, humidity control, and smart organization, anyone can establish a functional storage space that preserves wine quality for years. This guide draws on sommelier best practices to walk you through every step, from choosing the ideal spot to maintaining your collection long-term. A well-planned cellar protects your investment in wine while allowing easy access for regular enjoyment and special occasions.
Selecting the Right Location for Consistent Conditions
The foundation of any successful wine cellar is a space that maintains stable temperature between 55-65°F and humidity around 50-70%. Avoid areas near heat sources, windows, or exterior walls that experience temperature swings. Basements, under-stair closets, or dedicated pantry corners often work well for beginners. Measure the space carefully and consider insulation needs before installing any racking. South-facing rooms may require extra shading or reflective barriers, while north-facing spaces benefit from natural coolness. Test the area over several weeks with a digital monitor to identify seasonal fluctuations before committing to permanent fixtures.
Passive Versus Active Cooling Options Compared
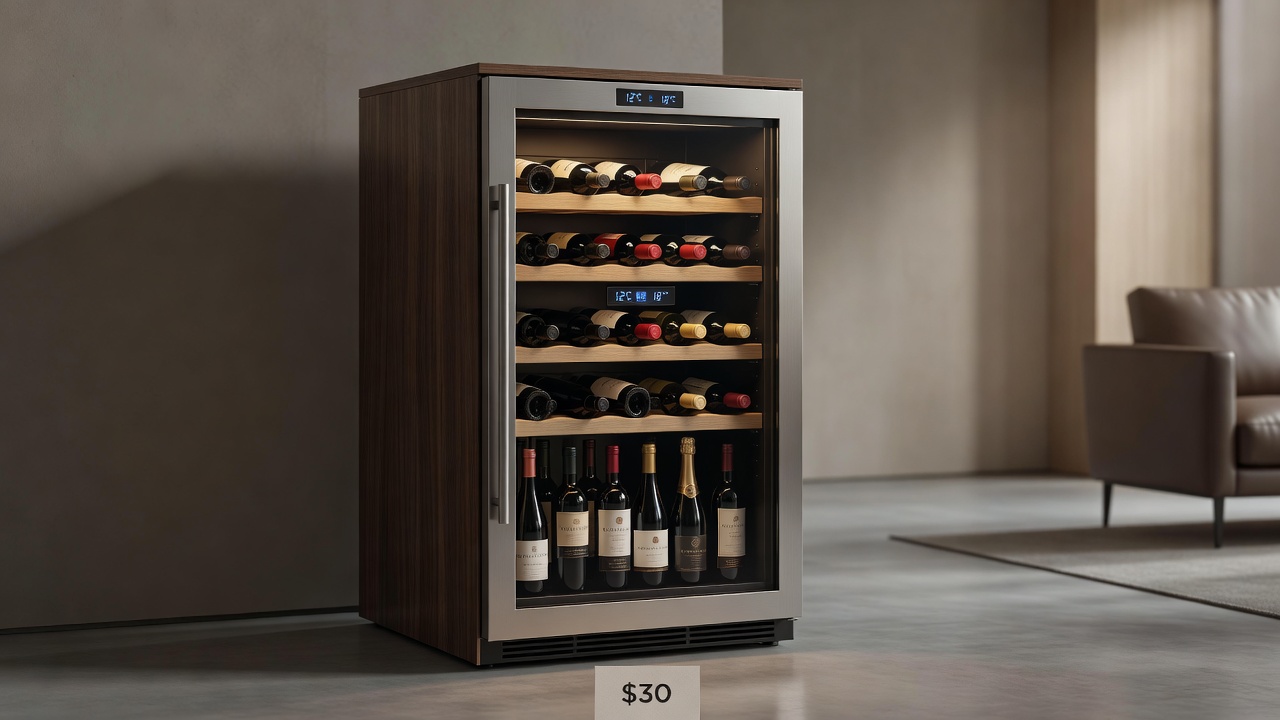
Passive cooling relies on the natural thermal mass of underground or interior rooms, making it cost-effective for small collections. Active systems, such as dedicated wine refrigerators or split cooling units, provide precise control and are ideal when natural conditions fluctuate. Beginners often start with passive setups and upgrade later. Wine Magazine offers extensive resources on climate control technologies suitable for home use. Passive methods work best in climates with mild seasonal changes, whereas active cooling excels in urban apartments or regions with extreme weather. Hybrid solutions combine both for reliability without high energy demands.
Choosing Affordable Racking Systems
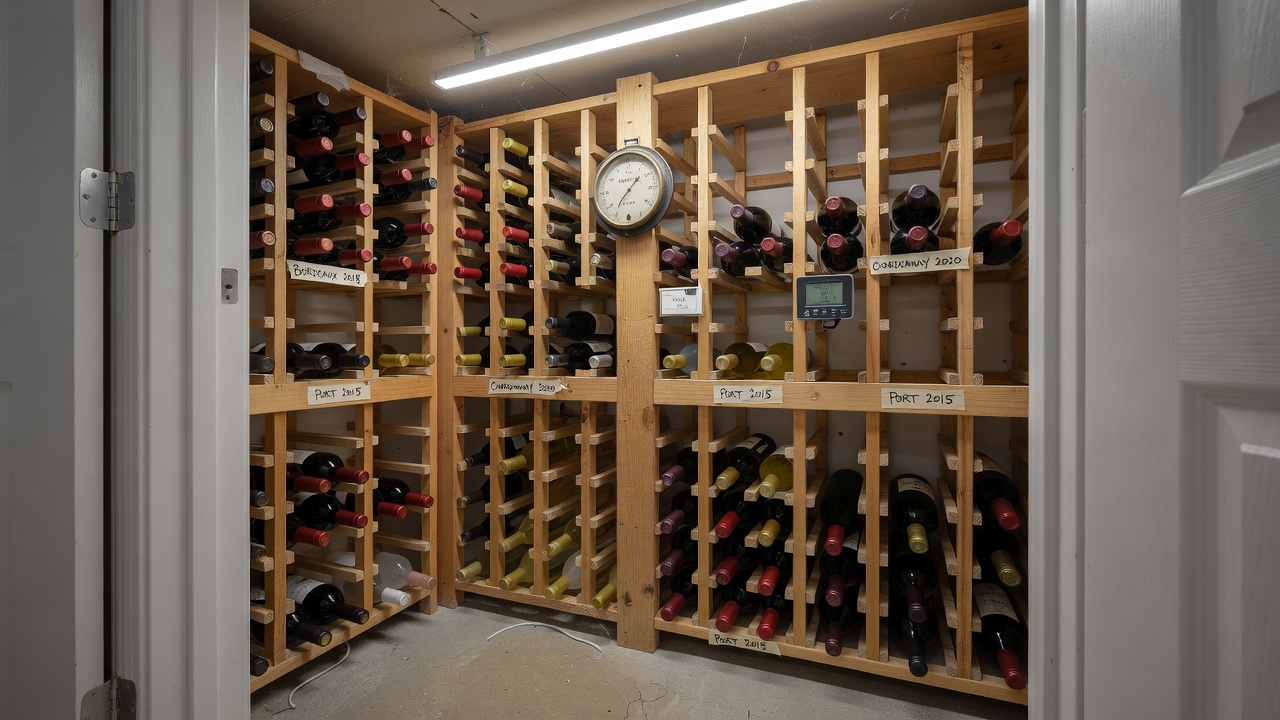
Modular wooden or metal racks provide excellent value and scalability. Look for designs that accommodate standard 750ml bottles while allowing for future expansion. Wall-mounted options save floor space in compact areas, while freestanding units offer flexibility. Always verify weight capacity and ensure racks are level to prevent bottle movement. Wood racks like pine or cedar absorb minor humidity changes, whereas metal offers durability in damp environments. Consider adjustable shelving to fit magnums or half-bottles as your collection diversifies. DIY options using sturdy lumber can reduce expenses while providing customization.
Organizing Bottles by Type for Easy Access
Group wines logically: reds together, whites and sparkling in cooler zones, and dessert wines in a dedicated section. Label shelves clearly and maintain an inventory list noting purchase dates and drinking windows. This system speeds up selection and reduces disturbance to aging bottles. Digital apps can track vintages, regions, and tasting notes, syncing across devices for quick reference. Separate everyday drinking wines from aging candidates to minimize unnecessary handling. Color-coded tags or sections help visitors and family members navigate the collection independently.
Step-by-Step Setup Instructions
- Assess and prepare the chosen space by sealing cracks and adding insulation if needed. Clear the area completely and clean surfaces to prevent mold or odors.
- Install racking according to manufacturer guidelines, ensuring proper airflow between rows. Secure units to walls in earthquake-prone areas for safety.
- Position a reliable hygrometer and thermometer for ongoing monitoring. Place sensors at multiple heights to detect microclimates within the space.
- Stock bottles horizontally, starting with your most frequently accessed wines near the front. Leave space for growth and label each rack section clearly.
- Test the environment for two weeks before adding your full collection. Record daily readings to establish a baseline and adjust ventilation as required.
- Integrate lighting that is low-UV and motion-activated to avoid prolonged exposure that can degrade labels and corks.
Real-World Examples of Compact Cellars Under 100 Bottles
Many enthusiasts successfully store 40-80 bottles in converted closets measuring just 4x6 feet. One example features a passive basement nook with custom pine racks holding 60 bottles, organized by region and vintage year for quick retrieval during dinner parties. Another uses a repurposed wine refrigerator paired with wall racks for a total of 75 bottles, demonstrating how hybrid approaches balance space and control. A third setup in a city apartment utilizes under-stair space with modular metal racks, accommodating 50 bottles while incorporating a small active cooler for whites. These examples highlight how constraints like square footage can inspire creative, functional designs that grow with the collector.
Common Pitfalls to Avoid
- Placing the cellar near laundry rooms or kitchens where vibrations and odors can affect wine. Vibrations disturb sediment in older bottles, while strong smells permeate corks.
- Overlooking UV protection—always use dark glass or UV-filtering doors. Sunlight accelerates aging and fades labels, reducing both quality and resale value.
- Ignoring long-term maintenance, such as annual checks on seals and sensors. Regular upkeep prevents costly failures that could ruin an entire collection.
- Storing bottles upright, which can dry out corks over time. Horizontal storage keeps corks moist and creates an airtight seal.
- Failing to account for expansion when the collection grows beyond initial plans, leading to overcrowded and hard-to-access spaces.
Budget Considerations and Maintenance Routines: FAQs
How much should beginners budget initially?
Focus on quality racking and monitoring tools first; exact costs vary by region and scale, so prioritize durable materials over luxury finishes.
What maintenance is required monthly?
Check humidity and temperature readings, rotate any bottles nearing their peak, and dust racks to maintain airflow. Quarterly deep cleans of the space help control dust and pests.
Is decanting readiness important during storage?
Yes—keep a dedicated decanter and stand accessible near the cellar entrance so wines can breathe properly before serving. This preparation ensures optimal flavor development without rushing the process.
How often should I review my collection inventory?
Conduct a full review every six months to update drinking windows, remove bottles past their prime, and plan future purchases based on consumption patterns.
Preparing Wines for Decanting and Serving
Decanting readiness integrates seamlessly into cellar design. Position a small table or counter near the exit for decanters, funnels, and aerators. Keep a selection of glasses in an adjacent cabinet to streamline the transition from storage to table. Sommeliers recommend allowing reds to rest upright for 30 minutes before decanting to settle sediment, a step made easier with organized racks that identify bottle age at a glance.
Conclusion
Building a beginner wine cellar in 2026 is an achievable project when you prioritize stable conditions, thoughtful organization, and gradual expansion. By following these sommelier-inspired steps, you will create a reliable storage solution that enhances your enjoyment of wine for years to come. Start small, monitor consistently, and refine your setup as your collection grows. With attention to detail and regular care, your cellar becomes both a practical asset and a source of personal satisfaction.
No comments yet. Be the first!