 Uncorked Conversations
Introduction to Vertical Tastings
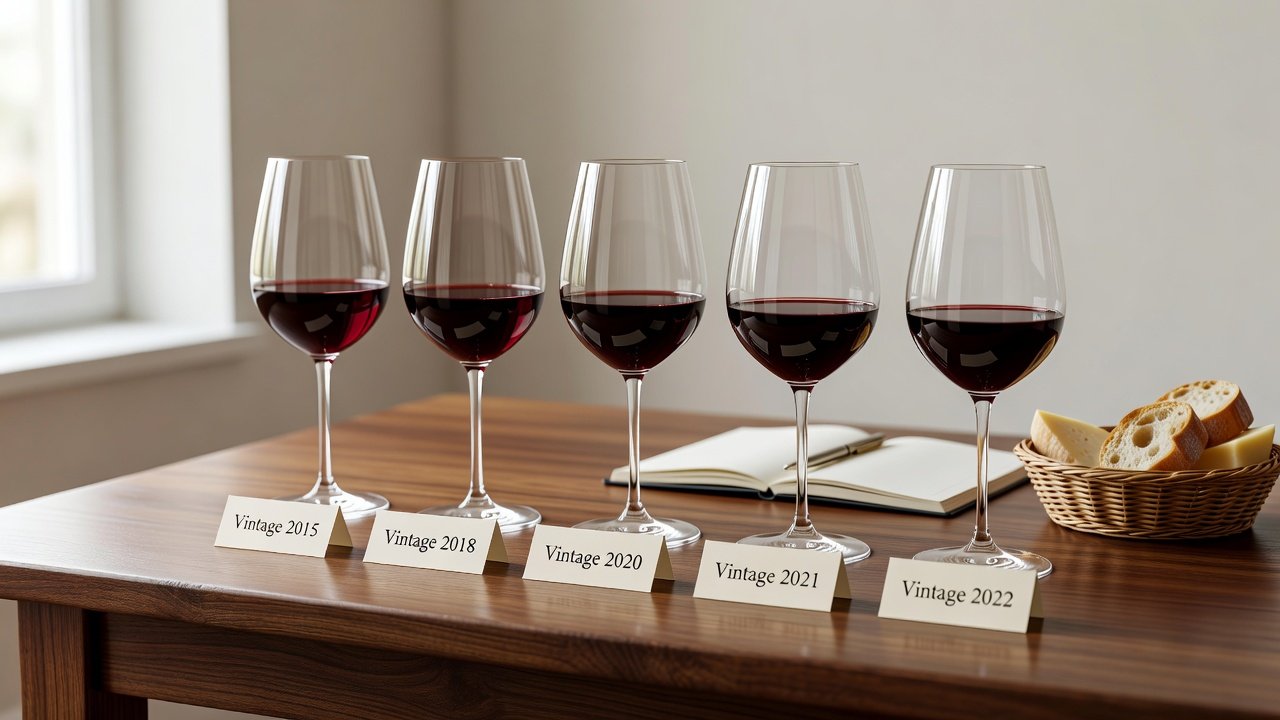
Vertical tastings offer wine beginners an exciting way to explore how the same wine changes across different years. Unlike horizontal tastings that compare wines from the same vintage but different producers, a vertical focuses on multiple vintages of one wine. This approach deepens your understanding of aging, vintage variation, and flavor evolution beyond basic tasting techniques. Many enthusiasts start with simple how-to-taste-wine sessions but quickly seek more dynamic experiences like verticals to truly grasp how time transforms a bottle. By comparing several releases of the identical cuvée, you witness firsthand the impact of weather patterns, harvest decisions, and cellar aging on aroma, color, texture, and finish. This hands-on method builds lasting confidence in core Wine 101 concepts, turning passive sipping into an educational journey that sharpens your palate for years to come.
By the end of this guide, you'll feel confident setting up your own vertical tasting at home using affordable bottles and popular grapes like Cabernet Sauvignon or Pinot Noir. Whether you are hosting friends or tasting solo, the structured comparison reveals patterns that generic reviews cannot convey.
What Makes a Vertical Tasting Unique?
In a vertical tasting, you sample the same wine from several consecutive or spaced-out vintages. This reveals how factors like weather, winemaking decisions, and bottle age influence the final product. Young wines often show bright fruit and vibrant acidity, while aged versions develop secondary aromas such as leather, earth, or dried fruit. The exercise highlights vintage character: a hot year might produce riper, more alcoholic wines, whereas cooler seasons yield higher acidity and more restrained fruit. Over multiple tastings, beginners learn to identify these signatures without relying solely on labels or scores. Vertical flights also demonstrate bottle evolution in real time, showing how tannins soften, colors shift from purple to garnet, and tertiary notes like mushroom or tobacco emerge only after several years in the cellar.
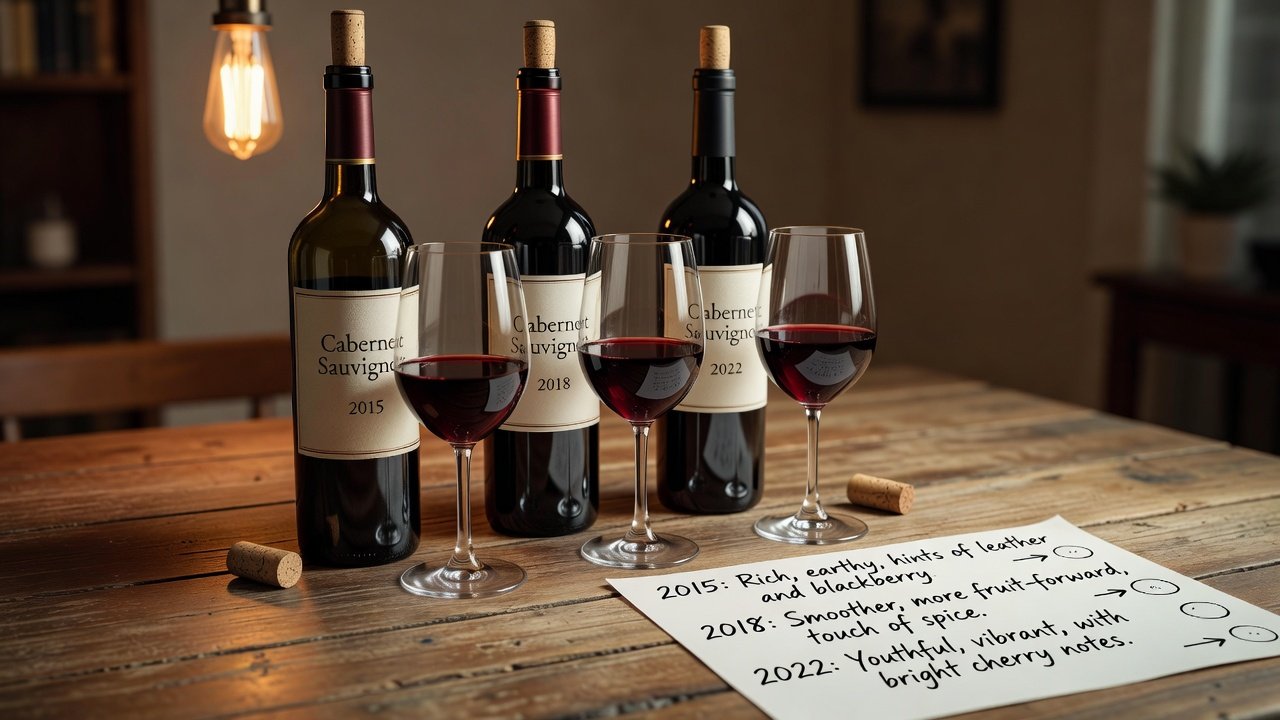
Comparing young versus aged bottles highlights these transformations. For example, a 2022 Cabernet might burst with blackcurrant, whereas a 2015 version could show more tobacco and cedar notes. This contrast teaches patience and appreciation for cellaring potential.
Selecting Affordable Wines for Your First Vertical
Start with well-known producers who release multiple vintages regularly. Look for bottles priced affordably to keep costs manageable while still offering quality. Popular choices include Cabernet Sauvignon from California or Bordeaux, Pinot Noir from Burgundy or Oregon, and Chardonnay from various regions. Reliable entry points are widely distributed labels that maintain consistent winemaking styles across years, allowing clear vintage comparisons. Seek out producers with strong distribution so you can locate older vintages through wine shops or online retailers that specialize in back vintages. A good rule is to select wines from regions with transparent vintage reports so you understand the growing conditions behind each bottle. Consult resources such as Wine Magazine for vintage charts and Decanter for producer recommendations. Choose wines stored properly to ensure quality, and consider starting with three to five vintages spanning five to ten years for manageable depth.
Step-by-Step Setup at Home
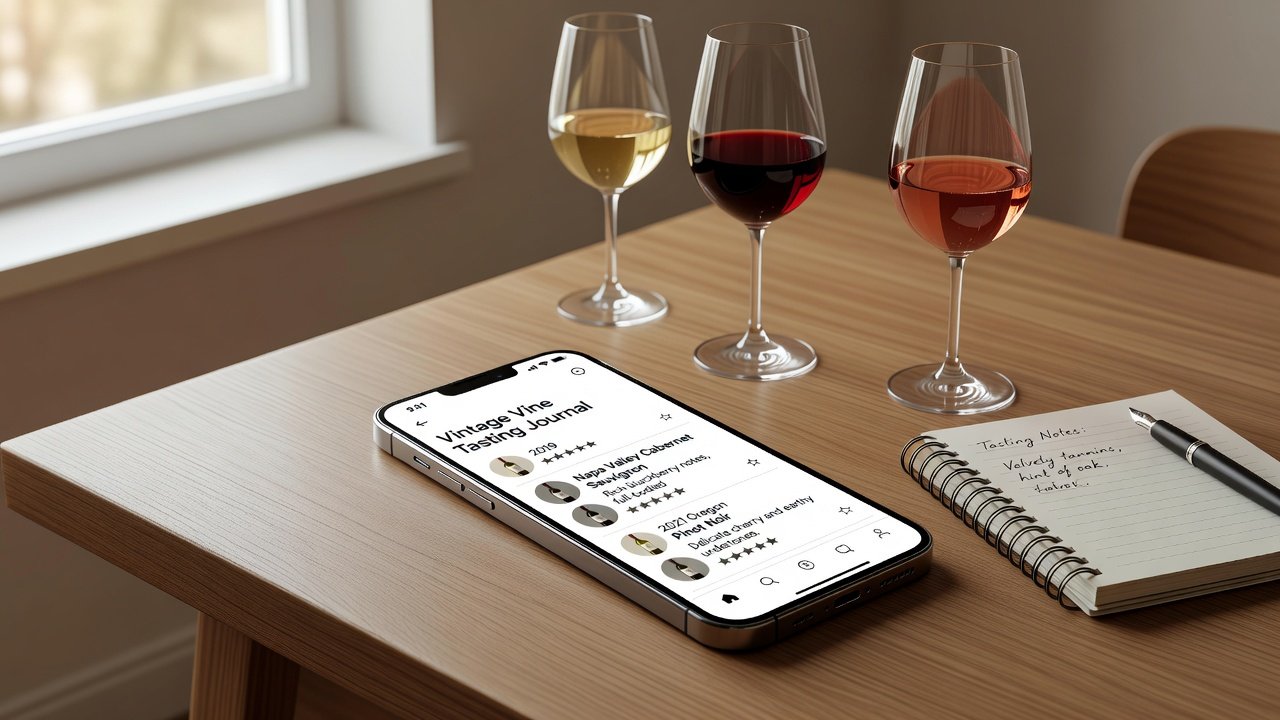
Creating a successful vertical tasting requires thoughtful preparation. First, select a quiet, well-lit space with a neutral tablecloth to avoid visual distractions. Gather three to five bottles of the same wine from different vintages, ensuring they have been stored at consistent temperatures. Open all bottles thirty to sixty minutes before tasting to allow breathing, though very old bottles may need less time. Use identical glasses for fair comparison and rinse with water between pours to prevent cross-contamination of aromas. Prepare a spittoon, plenty of water, and unsalted crackers for palate resets. Have notepaper, pens, or a dedicated tasting app ready to record observations systematically. Label each glass discreetly with vintage numbers so guests can track the progression without bias. If space allows, include a small cheese or bread board to cleanse between flights, but keep accompaniments minimal so the focus remains on the wine itself.
Noting Changes in Aroma and Flavor
Pour small amounts and observe color first—older wines often appear lighter or brick-hued at the rim. Swirl gently and note primary aromas such as fresh fruit or flowers, then secondary and tertiary notes like nuts, spices, or earth that develop with age. Taste systematically: sip, note initial attack, mid-palate texture, and finish length. Young wines tend to be more tannic and fruit-forward, while aged examples soften and gain savory complexity. Pay attention to how acidity evolves and whether tannins integrate or remain grippy. Record both objective descriptors and personal impressions so you can revisit notes later and track palate development over repeated verticals.
Practical Examples with Popular Grapes
Cabernet Sauvignon offers an excellent starting point because its structure ages gracefully. Compare a recent vintage such as 2023 with 2019 and 2015 from the same Napa or Bordeaux producer. Track how blackcurrant and bell pepper notes evolve into leather, graphite, and dried herb character. Pinot Noir provides a more delicate study; try Oregon or Burgundy examples from 2022, 2018, and 2014 to observe bright cherry and raspberry shifting toward mushroom, forest floor, and subtle spice. Chardonnay verticals reveal how oak influence and malolactic fermentation integrate over time, moving from tropical fruit to hazelnut and toasted almond tones. These concrete examples help beginners recognize patterns across grape varieties and regions.
Young Versus Aged Bottles Comparison
Young bottles typically display primary fruit, higher acidity, and firmer tannins, making them vibrant but sometimes one-dimensional. Aged bottles trade fruit intensity for nuance, revealing how oxidation and slow chemical reactions create new aromatic compounds. The transition teaches important lessons about cellaring windows and when a wine is at its peak drinking window.
Simple Tasting Checklist
- Record vintage, producer, and purchase details.
- Note color intensity, clarity, and rim variation.
- List three to five aromas detected on the nose.
- Describe flavor progression, body, and mouthfeel.
- Rate overall balance, complexity, and aging potential.
- Compare findings across all vintages for recurring patterns.
- Discuss impressions with fellow tasters to broaden perspectives.
Common Mistakes to Avoid
Do not rush pours or use mismatched glassware that alters perception. Avoid wearing strong perfumes or lighting scented candles that interfere with aroma detection. Taste in order from youngest to oldest to prevent palate fatigue caused by powerful aged wines. Keep distractions low and maintain consistent serving temperatures around 60–65°F for reds. Finally, resist the urge to over-analyze early pours; let each wine speak before moving to the next vintage.
Building Confidence in Wine 101 Concepts
Repeated vertical tastings reinforce fundamental skills such as identifying acidity, tannin, and fruit ripeness. Over time you develop an intuitive sense of how different vintages express terroir and winemaking choices, elevating your enjoyment and conversational ability at dinners or wine events.
FAQ
How many vintages should beginners start with?
Three vintages provide enough contrast without overwhelming the senses or budget.
Can I do a vertical with supermarket wines?
Yes, many widely available brands release multiple vintages; focus on consistency in producer and style for meaningful comparisons.
What if I cannot find older vintages?
Start with recent years and plan ahead by purchasing and cellaring a few bottles each season for future flights.
Should I decant older bottles?
Very old wines may benefit from careful decanting just before serving to separate sediment, but taste first to decide.
How long should each tasting session last?
Plan for forty-five to ninety minutes so participants can savor and discuss without fatigue.
Conclusion
Vertical tastings transform wine education into an interactive, memorable experience. With consistent practice, you will sharpen your palate, recognize vintage signatures, and gain deeper appreciation for how time shapes every bottle. Start small with three accessible vintages, stay curious, and enjoy the journey through the years.
No comments yet. Be the first!