 Uncorked Conversations
Introduction to Home Wine Tasting
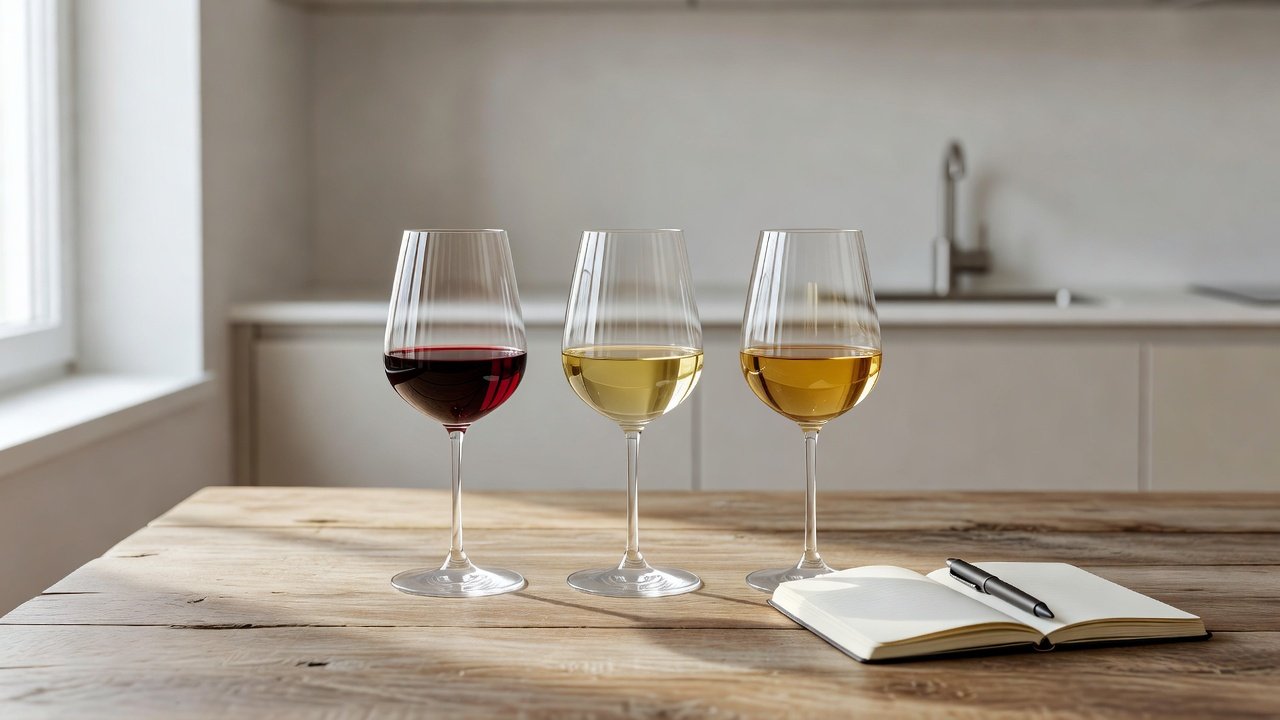
Practicing wine tasting skills from the comfort of your own home is an excellent way for beginners to build confidence and refine their palate without needing expensive restaurant visits or formal classes. This practical guide walks you through every element of setting up a simple tasting station, selecting suitable wines, and following a structured sensory evaluation process that mirrors professional techniques. By focusing on repeatable daily or weekly sessions, you can develop a deeper appreciation for how wines express aroma, flavor, texture, and finish over time. Home tasting also allows you to experiment at your own pace, revisit favorite bottles, and track subtle improvements in your ability to detect nuances that might be missed in a rushed social setting. Whether you are preparing for a future wine course or simply want to enjoy bottles more thoughtfully, consistent practice builds a foundation that lasts for years.
Setting Up Your Simple Home Tasting Station
Creating an effective tasting environment starts with a clean, well-lit surface such as a kitchen table or countertop. Gather essential tools including standard ISO wine glasses, a white surface or paper for observing color, a notepad or digital app for recording observations, and plain crackers or bread to cleanse the palate between samples. Ensure the room is free of strong cooking odors or perfumes that could interfere with aroma detection. Temperature control matters too: aim for 55–65°F for whites and 60–68°F for reds to allow proper expression of volatile compounds. Consider adding a small pitcher of room-temperature water for rinsing glasses and a spittoon or empty glass for those who prefer not to swallow every sip. Good natural or soft overhead lighting helps with accurate color assessment, while a quiet space free from distractions encourages mindful focus. Many enthusiasts also keep a small selection of neutral cheese or breadsticks on hand to reset the palate between flights.
Choosing Affordable Practice Wines
Focus on widely available, budget-friendly bottles from major varietals such as Chardonnay, Sauvignon Blanc, Cabernet Sauvignon, and Pinot Noir. Look for recent vintages from regions like California, Chile, or France that are easy to find at local retailers. Rotate between two or three contrasting styles per session to highlight differences in acidity, tannin, and fruit character. This approach keeps costs manageable while providing enough variety to train your senses effectively. Many beginners benefit from comparing the same grape from different producers or countries to understand terroir influences. Always open bottles 30 minutes in advance if possible to let them breathe slightly before tasting. Start with unoaked or lightly oaked examples before progressing to more complex barrel-aged wines so you can isolate basic fruit and acid profiles first. Consider purchasing half-bottles when available to reduce waste and allow more frequent sessions without financial strain.
The Step-by-Step Sensory Tasting Process
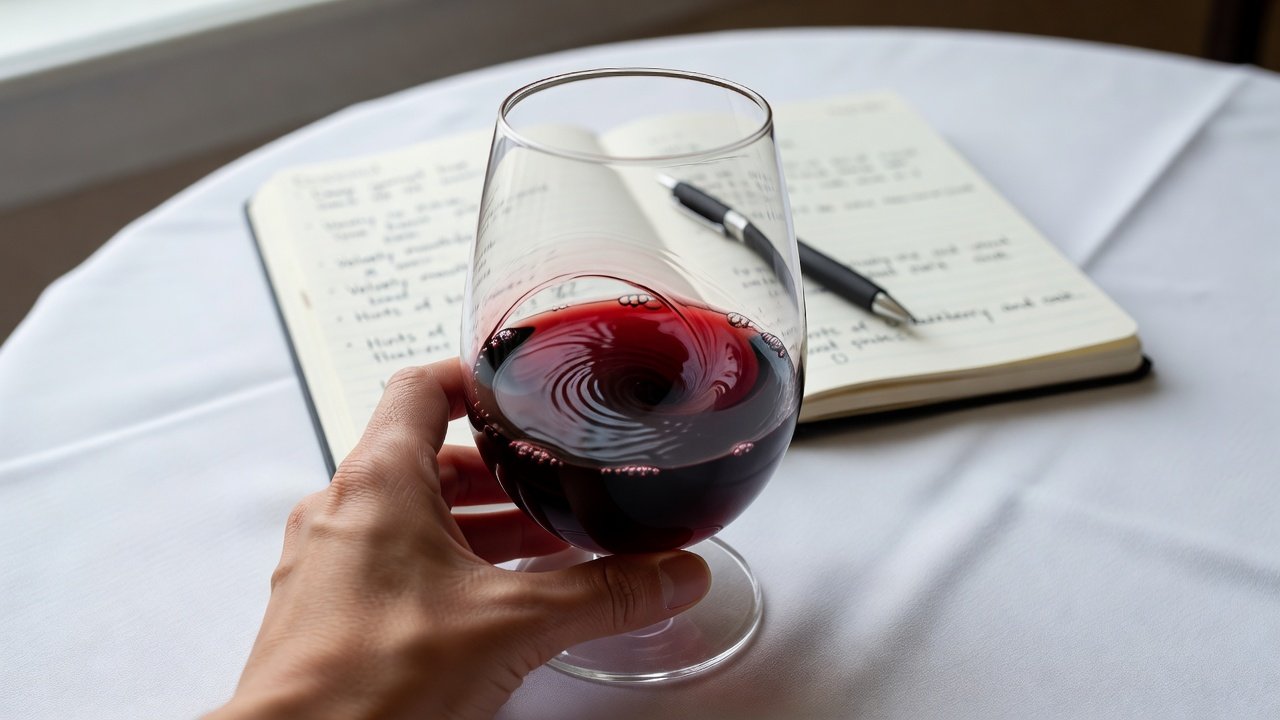
Follow the classic five-step method used by professionals worldwide. First, examine the wine’s appearance against a white background, noting color intensity and clarity. Next, swirl the glass gently to release aromas. Then, take short sniffs to identify primary fruit, floral, or earthy notes. Sip a small amount, letting the wine coat your palate, and pay attention to sweetness, acidity, tannin, alcohol, and body. Finally, consider the finish length and any evolving flavors after swallowing or spitting. Each step builds on the previous one, creating a complete picture of the wine’s character. Repeat the process with the same wine after it has opened for ten or fifteen minutes to observe how aromas and textures evolve.
Appearance and Color Evaluation
Hold the glass at a 45-degree angle over a white napkin or sheet of paper. Note whether the wine is pale straw, golden, ruby, garnet, or deep purple. Check the rim for hints of browning that may indicate age. Clarity is also important; most wines should appear bright rather than hazy unless they are unfiltered natural styles.
Swirling and Aroma Release
A gentle circular motion for ten to fifteen seconds oxygenates the wine and lifts volatile aromas. Avoid vigorous swirling that can create foam or spills. Take two or three short sniffs rather than one long inhalation to prevent olfactory fatigue.
Palate Assessment and Finish
Take a small sip and let the wine roll across your tongue. Identify sweetness on the tip, acidity on the sides, and tannins as a drying sensation. Note body as light, medium, or full, then evaluate the length of the aftertaste. A longer finish often signals higher quality and complexity.
Examples of Aromas and Flavors to Note
Chardonnay often shows apple, citrus, vanilla, or buttery tones depending on oak influence. Sauvignon Blanc frequently displays grapefruit, gooseberry, or grassy herbal qualities. Cabernet Sauvignon commonly reveals blackcurrant, cedar, and green pepper notes alongside firm tannins. Pinot Noir tends to offer red cherry, earth, mushroom, and delicate floral hints with lighter structure. Additional examples include Riesling with its signature lime, peach, and petrol notes in older bottles, or Malbec displaying plum, violet, and cocoa. Keep a running list of descriptors you encounter repeatedly so your vocabulary grows organically with each session.
Tracking Progress with a Basic Tasting Journal
Maintain a simple notebook or spreadsheet with columns for date, wine name, vintage, producer, appearance, nose descriptors, palate impressions, overall score out of 100, and personal comments. Reviewing past entries reveals patterns in your preferences and highlights improvements in descriptive vocabulary. Over several months, you will notice increased precision in distinguishing subtle differences between similar wines. Include a column for food pairings tried during the session and rate how well the combination worked. Some tasters add a section for weather or mood on the day of tasting, as these external factors can subtly influence perception. Revisit entries after six months to see how your scores and descriptors have evolved.
Common Beginner Mistakes Versus Correct Techniques
Many new tasters rush the swirl step or use overly large sips that overwhelm the palate. Instead, perform a controlled circular motion for 10–15 seconds and take just enough wine to cover the tongue. Another frequent error is skipping the appearance stage; always assess color and rim variation first. Beginners often rely on vague terms like “fruity” — aim for specific descriptors such as “ripe strawberry” or “baked apple.” Finally, avoid drinking strong coffee or eating spicy food immediately before a session, as these dull sensitivity. Other pitfalls include tasting in poor lighting, using heavily scented candles nearby, or comparing too many similar wines in one sitting. Correct these by establishing a consistent routine and deliberately practicing with contrasting styles to sharpen discrimination skills.
Building Your Palate Over Time
After several weeks of regular practice, introduce blind tasting elements by covering labels and attempting to identify varietal or origin based solely on sensory clues. Compare two wines side by side that share the same grape but come from different climates to understand how ripeness and acidity shift with geography. Over months, gradually incorporate more obscure varieties such as Grüner Veltliner or Tempranillo to expand your reference library. This progressive approach prevents overwhelm while steadily increasing expertise.
Frequently Asked Questions
How many wines should I taste in one session?
Start with three to four wines maximum to prevent palate fatigue. Space tastings 15–20 minutes apart and use water and neutral crackers between samples.
Do I need special glasses?
While dedicated tasting glasses improve results, any clear, tulip-shaped wine glass works well for home practice. Consistency across sessions matters more than perfect stemware.
How often should I practice?
Two to three focused sessions per week allow steady progress without burnout. Treat each tasting as a mindful exercise rather than a social event.
Should I spit or swallow during practice?
Spitting is recommended for longer sessions to maintain clarity, though swallowing small amounts is fine if you limit total volume. Always have water available regardless of your choice.
Conclusion
Consistent home practice using the methods above will quickly elevate your ability to identify and articulate wine characteristics. Over time, you will approach every bottle with greater curiosity and precision. For additional authoritative guidance on wine appreciation, explore resources from Wine Folly and Decanter. Keep your journal updated, stay curious, and enjoy the rewarding journey of discovering new wines from your own kitchen table. Regular reflection on your notes will reinforce learning and turn casual sipping into a genuine skill that enhances every future glass of wine.
No comments yet. Be the first!