 Uncorked Conversations
Introduction to Cooking With Wine
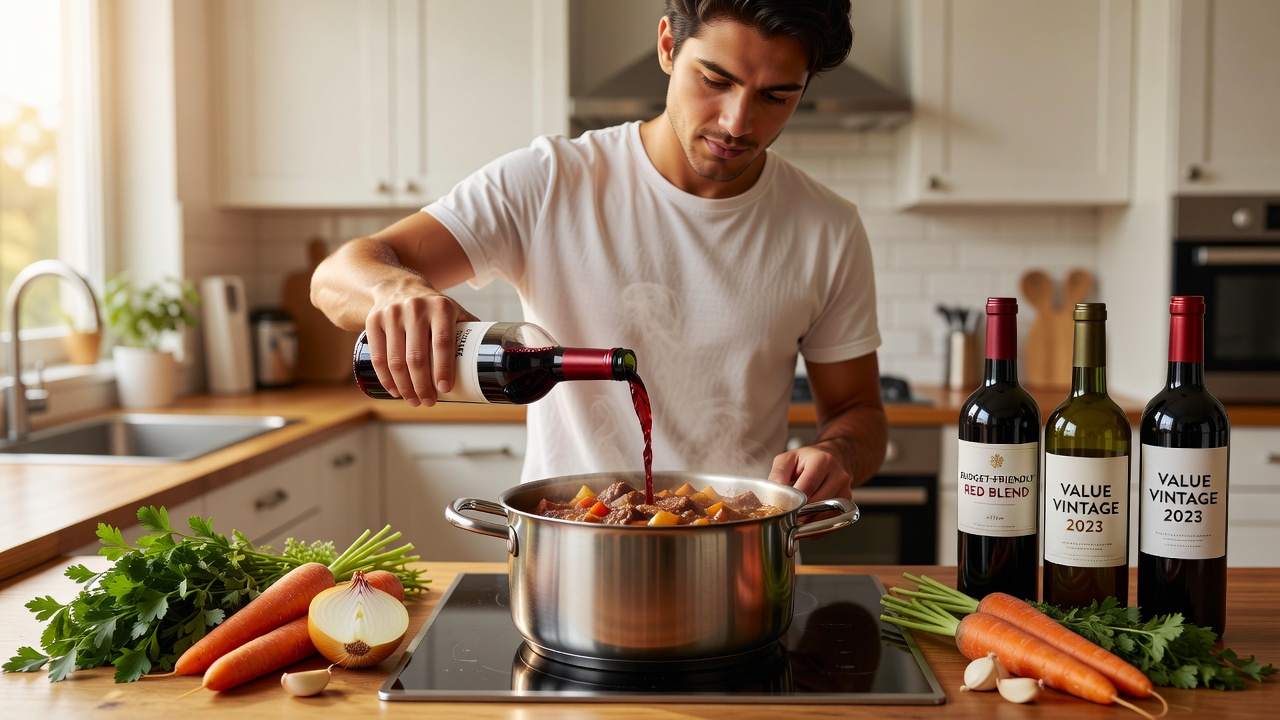
For wine beginners, using wine in the kitchen opens up a world of flavor enhancement without the need for expensive bottles. This comprehensive guide demystifies the process, focusing on practical applications like sauces and braises while covering everything from selection to storage. Cooking with wine adds depth, acidity, and complexity to dishes, transforming simple meals into restaurant-quality experiences. Whether you are deglazing a pan for a quick sauce or slow-braising meats, understanding the essentials ensures consistent results. Wine acts as a solvent that extracts flavors from herbs, spices, and ingredients, making it a versatile tool in any home cook's arsenal. Many home cooks discover that even small amounts create noticeable improvements in texture and aroma profiles across a wide range of cuisines.
Why Cook With Wine? Benefits and Flavor Science
Wine brings acidity that balances richness in creamy or fatty dishes, while its tannins can tenderize proteins in braises. The alcohol helps carry aromas, but most evaporates during cooking. Beginners often overlook how wine amplifies umami in mushrooms or tomatoes. In practice, a splash of wine can elevate a basic tomato sauce into something vibrant. This technique has roots in classic European cuisines where wine is a pantry staple for everyday cooking. The science involves volatile compounds that release during heating, enhancing overall sensory appeal without overpowering other elements.
Selecting Affordable Wines for Cooking
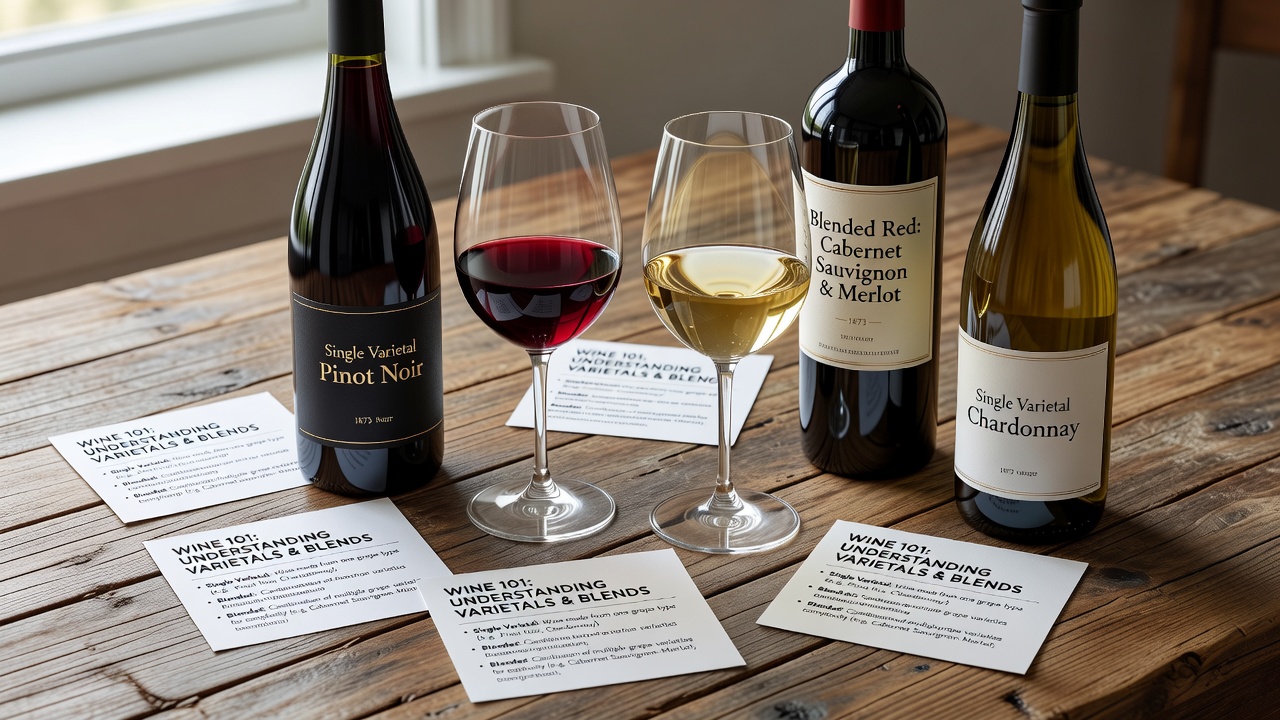
Choose wines you would enjoy drinking but at a budget-friendly price point. Avoid "cooking wine" from grocery shelves, which often contains salt and additives that ruin flavor. Look for varietals like Cabernet Sauvignon or Chardonnay that hold up well to heat. For reds, select medium-bodied options without heavy oak influence. Whites should be crisp and dry. Always taste the wine first—if it tastes good on its own, it will enhance your dish. Consider buying small bottles or splitting larger ones with friends to keep costs low while experimenting. Focus on widely available brands from reputable regions to ensure reliability in repeated use.
Step-by-Step Reduction Techniques
Reducing wine concentrates flavors by evaporating water and alcohol. Start by simmering wine in a pan over medium heat until it halves in volume. Stir occasionally to prevent scorching. For a basic reduction, use one cup of wine and cook for 5-10 minutes. Add aromatics like shallots or garlic at the beginning for layered taste. 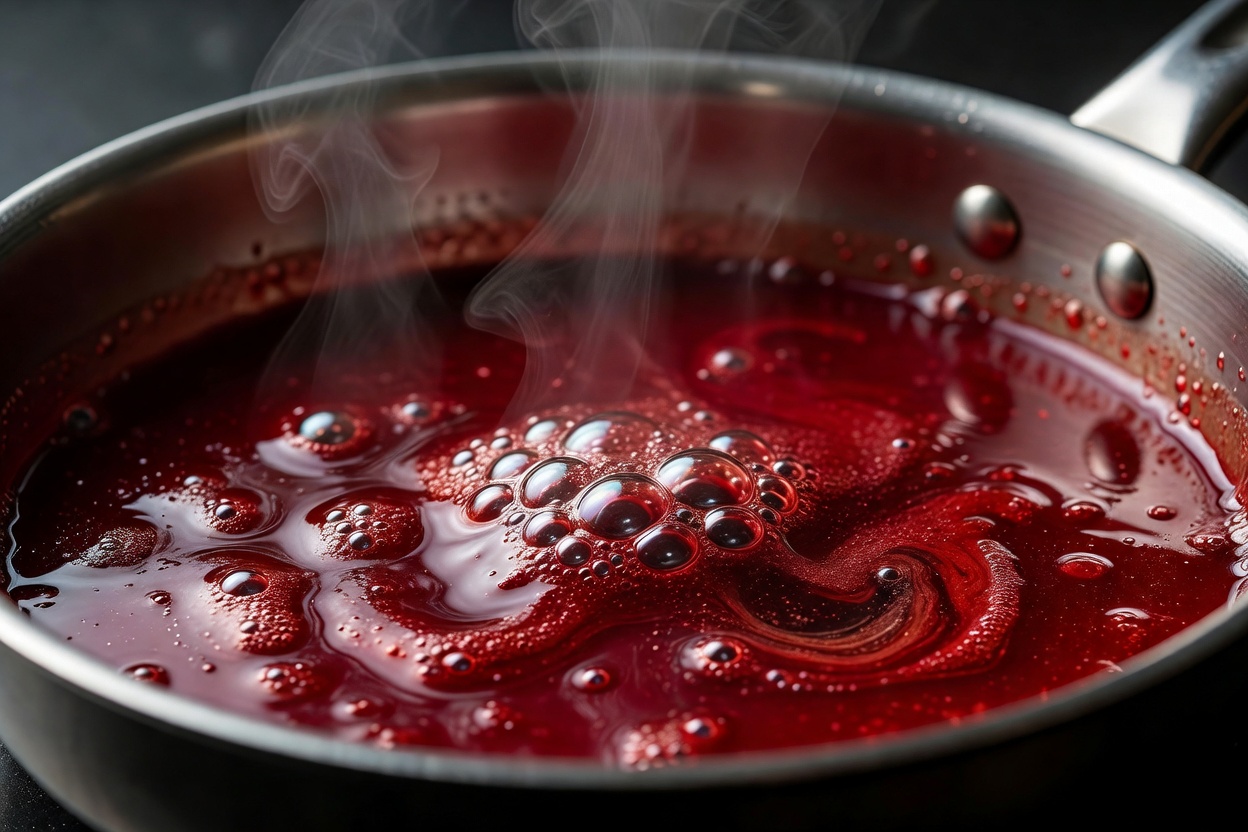
Classic Recipes: Sauces and Braises
Try a red wine reduction for steak by simmering Cabernet with beef stock and herbs until syrupy. For coq au vin, use white wine to braise chicken with mushrooms and pearl onions. Different varietals impart unique notes—Pinot Noir adds earthiness to mushrooms, while Sauvignon Blanc brightens seafood dishes. In a beef bourguignon, bold reds deepen the gravy during long simmering. Each recipe benefits from gradual addition of wine to control intensity. For example, start with half the liquid and adjust based on taste tests midway through cooking.
How Varietals Affect Flavors in Dishes
Compare options carefully: Bold reds like Merlot deepen beef braises with notes of dark fruit and spice. Crisp whites like Pinot Grigio suit lighter poultry recipes, bringing citrus and herbal tones. Sweet wines can glaze desserts or balance spicy Asian-inspired stir-fries. Experiment by matching the dish's profile—avoid overly tannic wines in delicate sauces as they may turn bitter when reduced. Create a flavor chart at home to track what works with chicken, fish, or vegetables. Regional differences also play a role, with New World wines often offering fruit-forward profiles compared to Old World counterparts.
Alcohol Burn-Off and Safety Considerations
Most alcohol evaporates during cooking, but trace amounts may remain depending on heat and duration. For details on food safety, refer to USDA guidelines. Use long-simmer methods for braises to minimize residual alcohol. Always cook thoroughly and store leftovers properly to maintain quality. Understanding these factors helps ensure meals are suitable for all family members including those avoiding alcohol.
Common Pitfalls to Avoid
- Using old or oxidized wine that tastes vinegary and imparts off flavors
- Over-reducing leading to bitterness and burnt edges on the pan
- Ignoring acidity balance, resulting in flat-tasting dishes that lack brightness
- Adding cold wine to hot pans, which shocks ingredients and disrupts texture
- Skipping tasting at each stage of cooking to correct seasoning early
Practical Checklists for Beginners
Beginner checklist: Taste the wine before adding, measure precisely with a measuring cup, store open bottles in the fridge, and match wine style to dish type. Another list covers tools needed: heavy-bottomed pan, wooden spoon, and fine strainer for reductions. Review these before starting any recipe to build confidence and avoid last-minute issues during preparation.
Beginner-Friendly Substitutions
If wine is unavailable, use broth with a splash of vinegar or lemon juice for acidity. Non-alcoholic grape juice works in sweet applications but adjust sugar levels. For complex dishes, try verjus or diluted balsamic vinegar as alternatives that mimic wine's tang without alcohol. These swaps maintain similar chemical properties for tenderizing and flavor extraction in most recipes.
Storing Open Bottles and Cuisine Pairings
FAQ section: How long does open wine last for cooking? Up to a week in the fridge when sealed tightly. For pairings, match Italian reds with tomato sauces or French whites with creamy dishes. Explore more on responsible use at Wine Institute. Additional safety insights are available from FSIS. When cooking Indian cuisine, use dry whites to cut through spices. For Mexican dishes, light reds complement chili flavors without overpowering. Another common question involves freezing wine for later use in cubes, which preserves it for up to three months in recipes.
Timing Your Wine Additions for Optimal Flavor
Adding wine at the right moment is crucial for best results. Introduce it early in long braises so tannins soften and integrate fully with meats and vegetables. Add midway through sauce preparation to allow reduction without losing volatile aromas. For finishing touches in lighter dishes, incorporate at the end to preserve fresh acidity. A practical example is risotto where wine is added after toasting the rice, allowing it to absorb gradually while stirring. This staged approach prevents harsh alcohol notes from dominating the final plate.
Essential Tools and Equipment for Cooking With Wine
Invest in a few key items to streamline the process. A heavy-bottomed saucepan distributes heat evenly during reductions. Wooden spoons prevent scratching and allow thorough scraping of fond from the pan bottom. A digital thermometer helps monitor temperatures when precision matters in delicate sauces. Keep a set of measuring tools handy for consistent ratios across batches. These basics make the learning curve smoother for new cooks experimenting with wine applications.
Expanded Tips for Success and Experimentation
Start small by adding wine to existing recipes like pasta sauces or soups. Track results in a notebook to refine preferences over multiple attempts. Consider seasonal ingredients—lighter wines in summer for fresh salads and grain bowls, fuller bodies in winter for hearty stews and roasts. This builds intuition over time and encourages creative adaptations based on available pantry items.
Conclusion
With these essentials, beginners can confidently incorporate wine into everyday cooking for elevated results. Practice the techniques outlined and soon you will create memorable meals with ease while exploring new flavor combinations in your kitchen.

No comments yet. Be the first!